
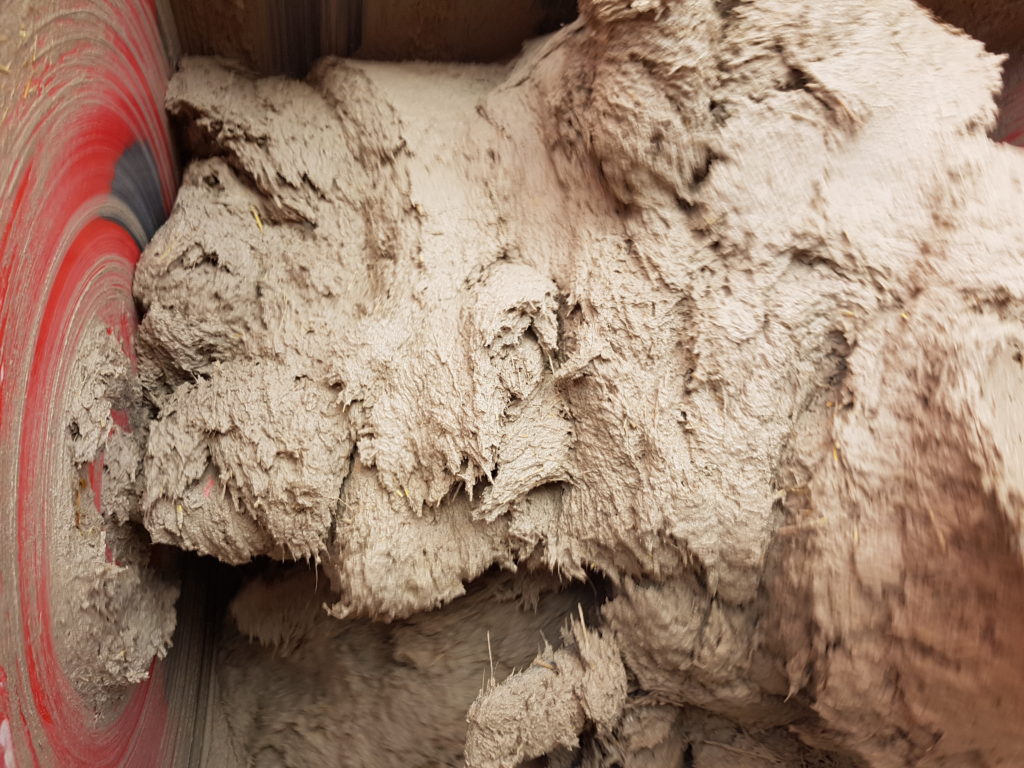
 Lime-stabilized earth is one of the most versatile plaster base coats for natural buildings – it bonds well to both clay and lime, it’s a versatile plaster that can be used to level walls with fills up to 2″ deep or more in spots. A lime finish coat is applied over top for weather resistance. In this post I’ll share a recipe for lime-stabilized earth that’s a hybrid of two recipes you can find in our book Essential Natural Plasters – one recipe comes from Vermont-based New Frameworks (p. 87) the other from Ontario-based Straworks (p. 89 – you don’t need our book to use today’s recipe, though of course you should buy it anyway). The two recipes use similar ratios; the Straworks recipe uses a little more lime and fine straw, but also uses a premix of clay and sand designed for ball diamonds as the base of the plaster. Since we didn’t want to bring in a truckload of this mix we used the recipe from New Frameworks and borrowed aspects from Straworks’ recipe. In this case it was going on a straw-clay (or slip-straw) building, it’s commonly used on straw bale homes.
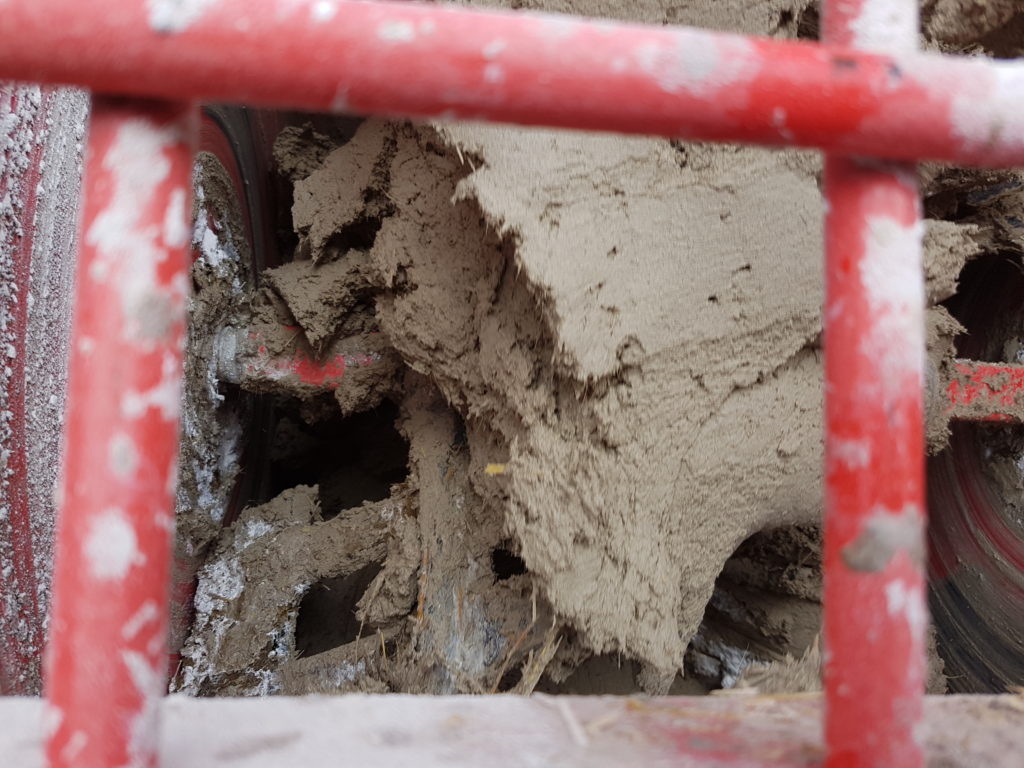
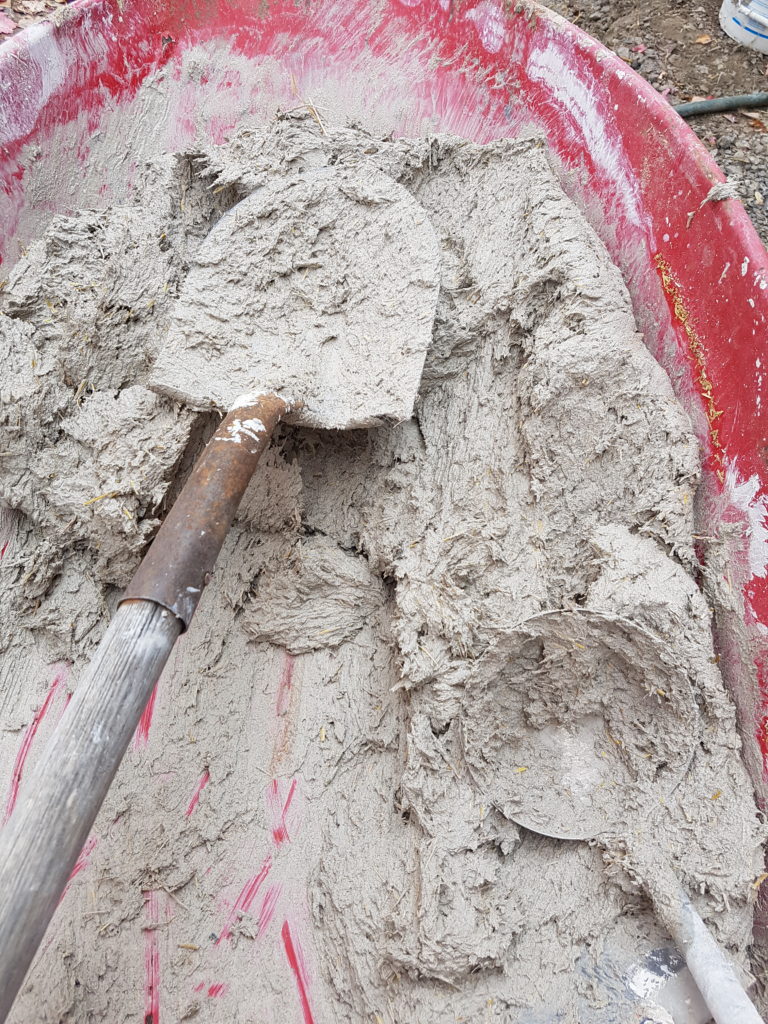
Here’s the recipe / mixing sequence, measured in buckets (we used ~2.5 gallon buckets but our mixer could have handled more):
- 2 water
- 4 sand
- 2 bagged dry ball clay
- 1 1/3 hydrated lime (add dry)
- 1 manure (optional)
Let it spin 5-10 minutes to break up the manure then:
- 1 water
- 4 sand
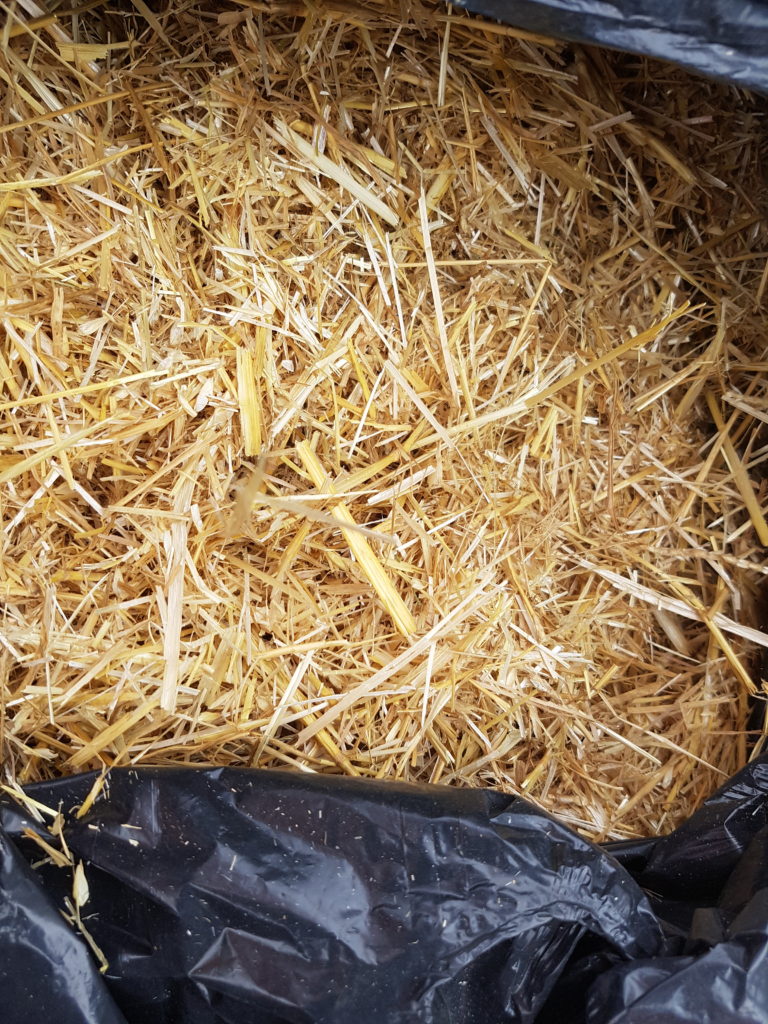
- 3 fine straw
- 1 coarse straw
- 1/2 – 3/4 water
It should be wet enough to spread easily but not run off the trowel.

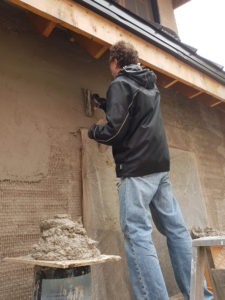 Before we start applying plaster we spray a section of wall with clay slip, this helps with adhesion and replaces misting the wall. This is essential for straw bale walls, but even on straw-clay walls I find it helpful.
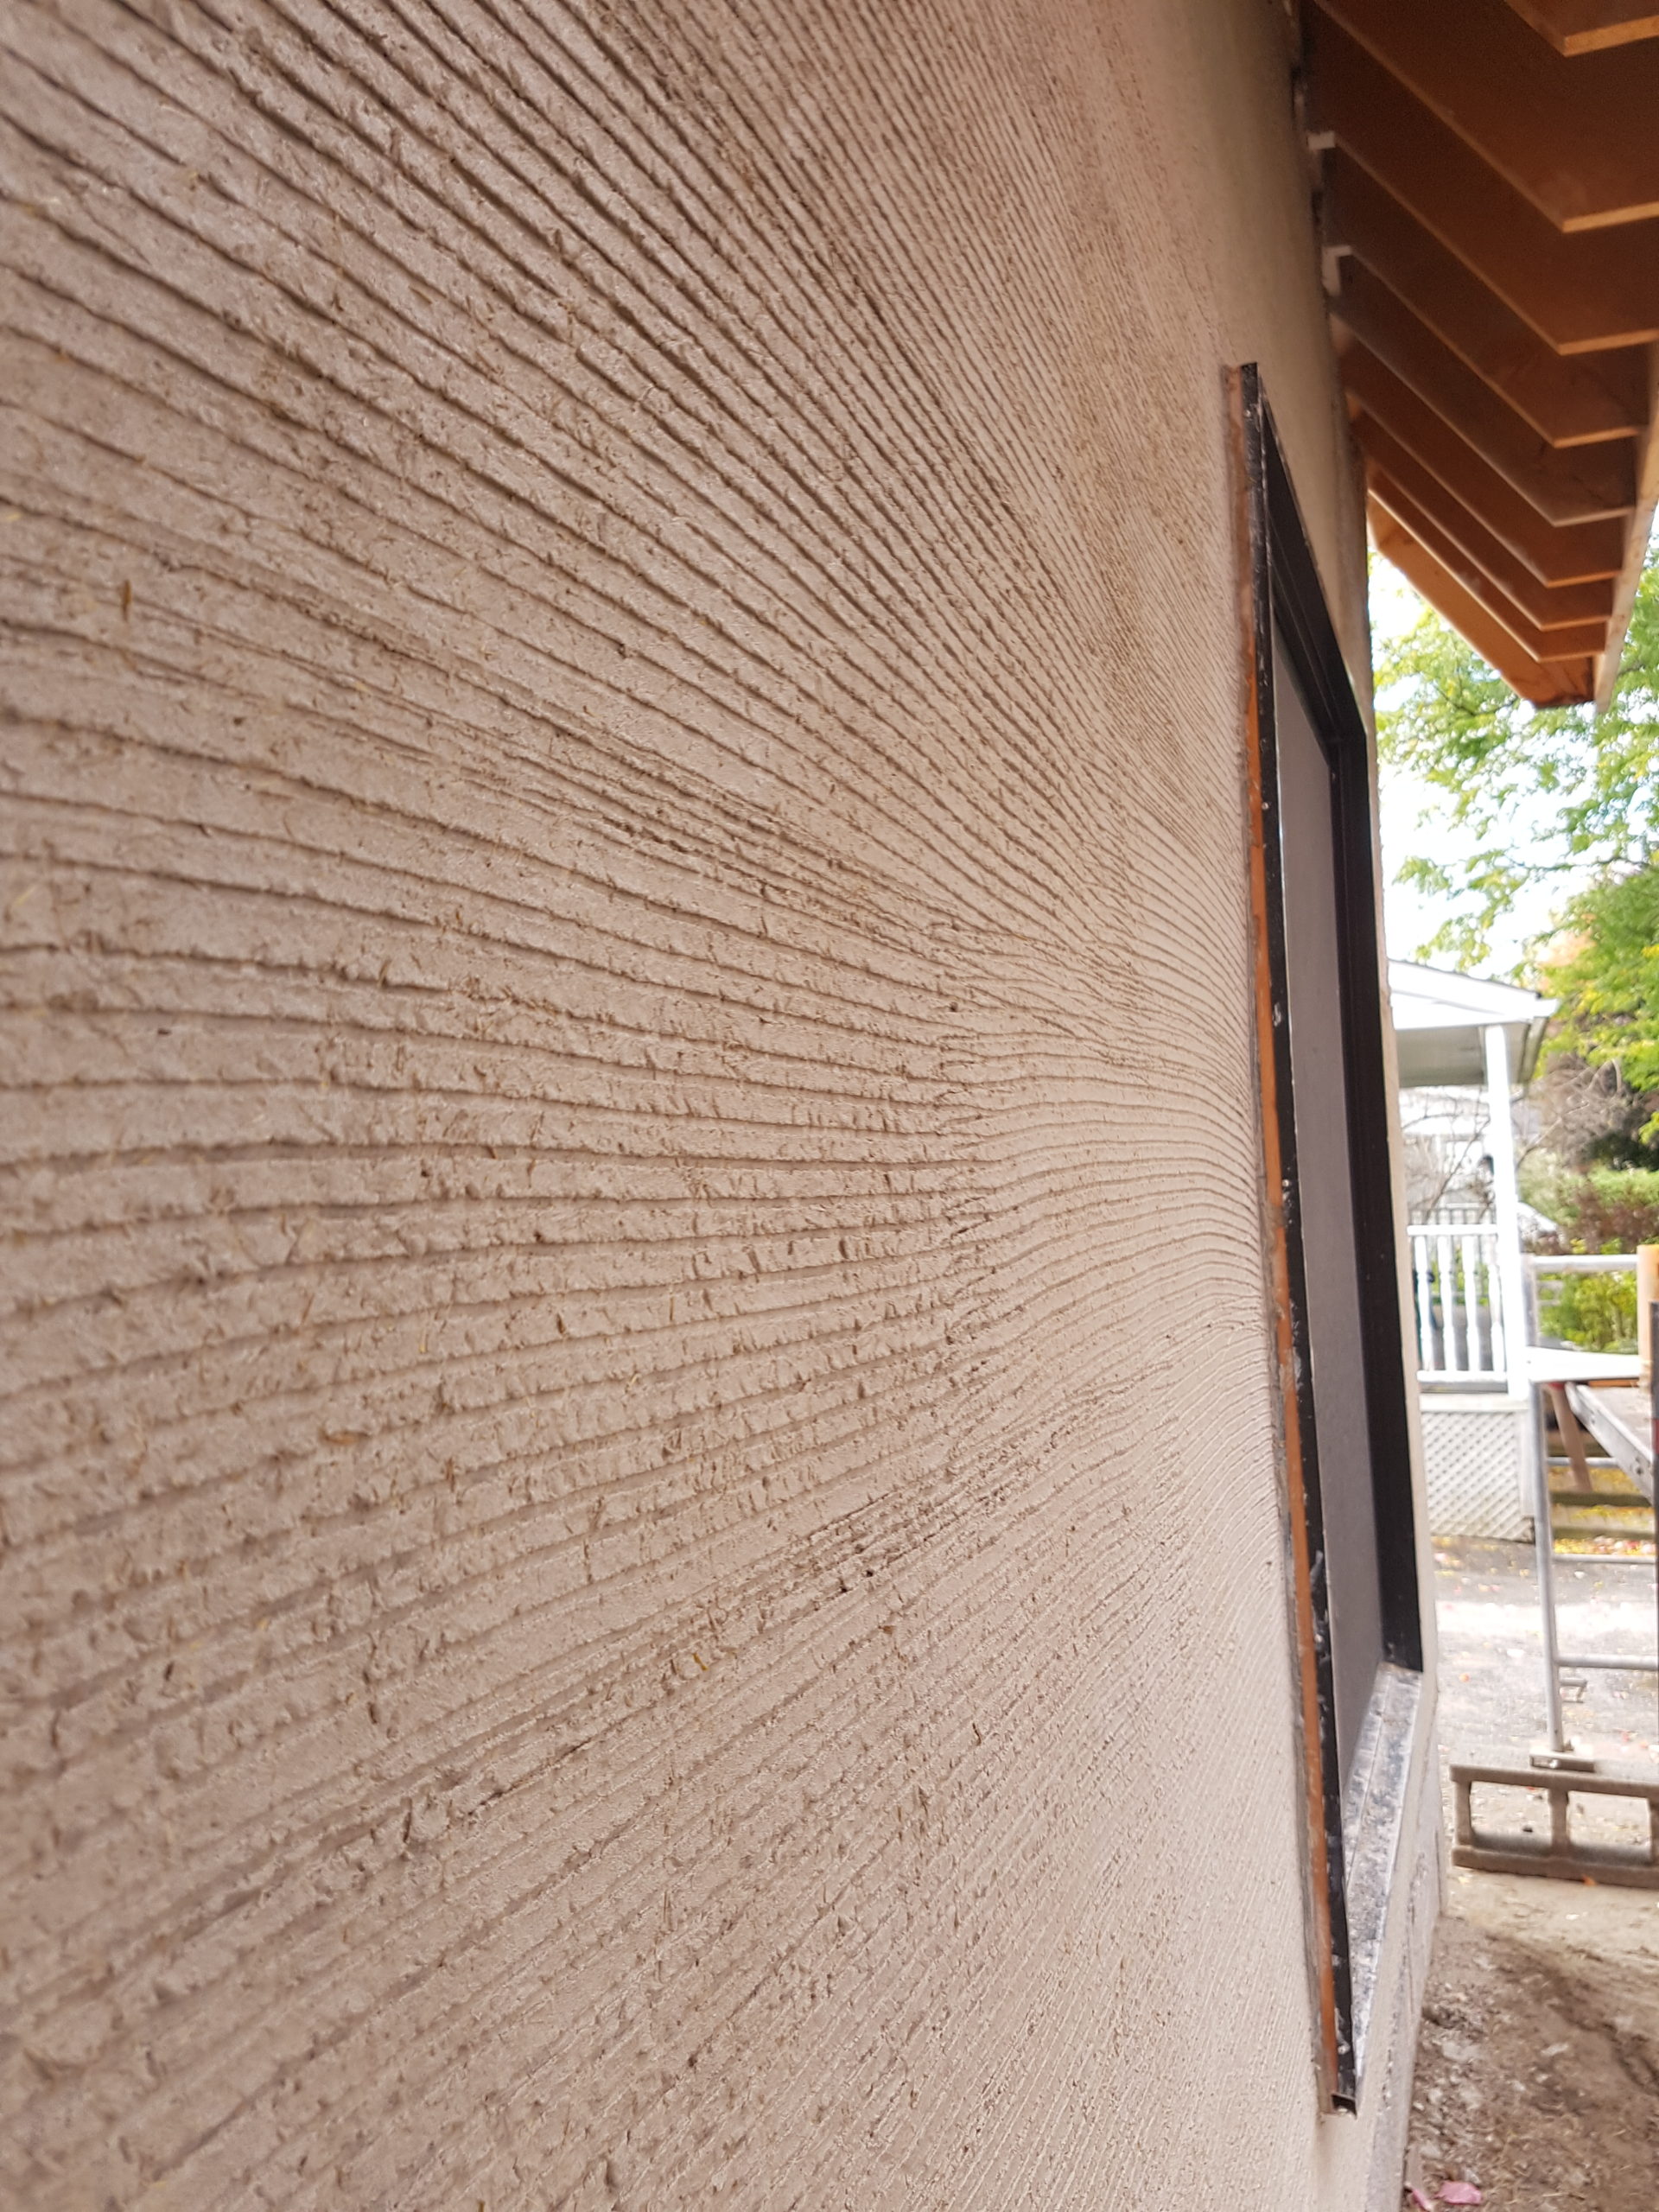
The plaster is troweled on in two passes in quick succession – first a thin coat is pressed into the wall for bond and the thickness is then built up to the desired depth (minimum 1/2″). We scratched using a comb at low angle and moderate pressure to get a deep but clean scratch. Mechanical bond to the lime finish coat is important.
The reason to use this plaster is as a base coat for a lime plaster, a situation where earth plaster won’t work (reactions between the plasters frequently cause delamination). The key to a lime stabilized earth plaster is to use enough lime, and as with any new plaster, always do tests.
To learn much more about lime-stabilized earth as well as earth, lime, and even cement and gypsum plasters, buy our book Essential Natural Plasters.
Hi Mike, than you for the post, i’m writing you from Argentina. Recently i’ve tried a lime-earth mix in my walls with hydrated lime and Clay, but the mix turned out to be extremely weak and cracky. The thing is that those materials separately, produced very strong plasters. When i mix them is the problem, maybe the lime interferes with the clay internal bonds? Any ideas?
Hi, yes the lime definitely does interfere with the clay internal bonds. Essentially you’re making a weakly hydraulic lime plaster, with the clay acting as a pozzolan, but also significantly modifying other attributes of the plaster – making it a unique hybrid of lime and clay. Because the pozzolanic reactions need a certain PH to work, it’s very important to use enough lime in the recipe. If your plaster is extremely weak and crumbly then you may not have enough lime. Fine straw or other fiber will help with cracking.
If done right this will be a moderately strong plaster. You’ll definitely get more strength in a pure lime plaster – and even an earth plaster can be at least as strong as this plaster, though this will have greater weather resistance (even so it needs a top coat). The reason we use this plaster is to allow a lime top coat, since lime directly over an earth plaster (that is not lime stabilized) frequently leads to plaster delamination and failure. The primary advantages of this as a base coat, compared to a lime base coat, is that it can be used to fill and level (lime, especially hydrated has strict depth limitations), and it can be used in hot weather.